Showing posts with label gifts. Show all posts

Thursday, January 3, 2013

Make a Yarn Scrap Bowl


So for Christmas our extended family decided to draw names for the adults presents since quite a few of us are on very limited budgets. My husband and I are super excited as we drew the 2 people in the family that understand our lifestyle the best. We got my husbands mother and grandmother. YAY! We feel like we can let our craftiness fly free! We made each of them some lavender room spray (super simple to make), some sandalwood soap (as you saw in a previous post), crocheted washcloths and for Grandma I got a hand-stamped pendant of all her great grandchildrens names. I have no metal work skills so I had to purchase it off etsy. Then for my MIL we did a 8x10 print with all the grandchildrens names and birthdays. Again we had to do etsy as we don't have a color printer and I wasn't sure how we could get it done otherwise. I plan on stopping at our local chocolate store to get a few truffles to finish off their gifts. I usually do our gifts in baskets cause it looks prettier than in a bag but didn't want to spend the money on something they probably wouldn't keep so I decided to make my own from scrap yarn. So here is how you can do it too.

Bring 2 cups of water to a boil. While water is heating whisk together half a cup flour and 2 cups cold water. Whisk into boiling water. Add 2 tbs of sugar, mix well and remove from heat. The mixture will thicken as it cools.


Chose a bowl the size you want your yarn bowl to be. Cover the outside in cling wrap and set it on some foil or cardboard.


Cut or select some yarn scraps.


Dip the yarn into the liquid and squeeze out the excess. Wrap your yarn around the bowl in any design you chose. I went with a whimsy kinda thrown together pattern. Make sure to cover the bottom very well if you intend to place stuff inside once it's done.


Once dried (mine took about 3 days) remove the cling wrap from the bowl then peel it out of the yarn bowl.  Find something cool to fill it with and enjoy!


post signature

Monday, November 12, 2012

Making Whipped Shea Butter Lotion

This year has been a big year for my family. We added a new member (Gideon) into our little 2 bedroom,  1000 sq ft townhouse. To say were short on space is an understatement but while we're saving to buy a house it's what we've got and we can make it work.
We have long thought about living a simpler lifestyle and when we found out we would be adding to the family we decided it was time to put that idea into action. We've slowly been clearing the clutter from our lives, learning to make due with what we have and learning how to make for ourselves all the things we feel we can't live without.

So on that note, I saw last night I was close to out of lotion and decided it was time I learn to make it myself instead of making the choice between a cheap lotion that's full of things I really don't want to be putting on my families skin or an organic lotion that would cost more than what we spend on milk for a whole month! So I did some research and couldn't find a recipe that I had all the ingredients for and I really didn't want to make a trip to the store so I decided to just create my own. So here it is.

Whipped Shea Butter Lotion

3oz Shea Butter
3oz Coconut Oil
2oz Avocado Oil
1oz Olive Oil
1oz beeswax
(Note I did the oils and wax buy weight)
Then I added the following but these are all optional
1 tsp Vitamin E
1/2 tsp Vanilla Extract
20 drops GSE (grapefruit seed extract - used as a preservative)
20 drops tangerine essential oil


I put all ingredients in my George Forman Multi-cooker (boy do I love that thing for making beauty products) and turned it on low till it melted. You could also use a double boiler or a Crockpot. Then I put  the crock into the fridge until well cooled (about 10 minutes) You'll know it's cooled cause it will look like beeswax (but it's very soft) Then I scooped it all out into the bowl of my Kitchen Aid mixer and used the whisk attachment. I whisked for 5 minutes on medium speed and 5 minutes on high speed. It will start out the color of beeswax and will slowly lighten until it's a soft white and will almost double in size.


I then spooned it into 4 (4oz) jelly jars that I sterilized in boiling water. I didn't decorate them or anything since they are all for me. :) If you didn't use GSE I would recommend keeping your extra stored in the fridge. I plan on keeping 1 on my nightstand, 1 in each of our 2 bathrooms and the last one I'm gonna give to my BFF Jacque.


post signature

Saturday, November 10, 2012

Making Pumpkin Spice Sugar Scrub

Last night me and my BFF Jacque made soap. It was a lot of fun. But while we where waiting for the oils and lye to cool we decided to make use of the time to make some sugar scrub. It was easy to decide on the scent as Jacque's favorite scent/flavor for anything and everything is pumpkin spice. Since fall is the most perfect time for pumpkin spice we got right on it.

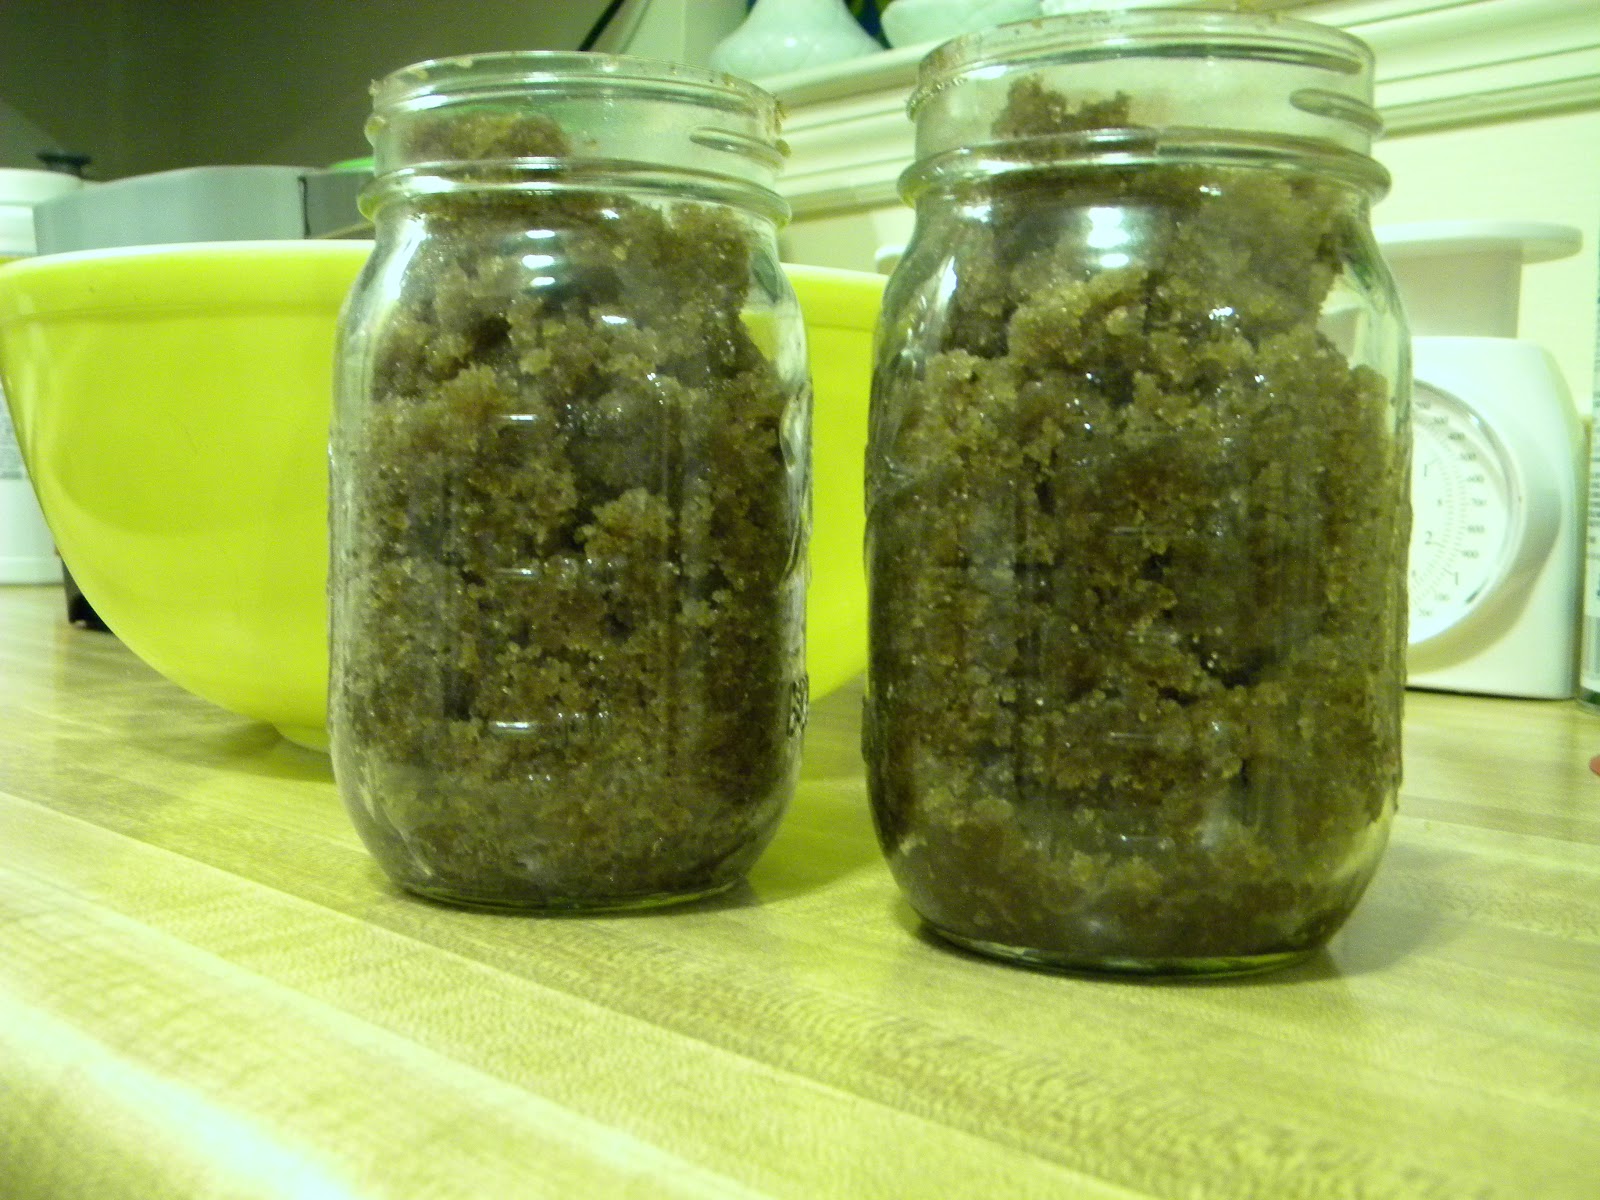
We took 2 cups of brown sugar, 1 cup white sugar, 2 tbs cinnamon, 1 tbs powdered ginger, 1 tbs ground cloves and 1 (heaping) tbs nutmeg.


We mixed it all together and made sure to get rid of all the clumps. Then we added 1 cup veggie oil.


We mixed it up really well with a rubber spatula and then spooned it into 2 pint size mason jars. Once in the jars we added 1.5tsp of olive oil to each jar and mixed it in well with a fork.
To make opening the jar easier we glued the top and the ring together to make it one piece. It's cheaper than buying those plastic reusable tops and much prettier.
If you notice your mix looks oilier at the bottom just invert the jar after the next use and keep flipping it back and forth after each use.


It took us all of about 5 minutes and cost us nothing to make because we had everything on hand.
We didn't decorate the jars since they are just for us and won't last long but we've decided it smells so good we'll be making them in 4oz jelly jars to put in our Christmas baskets we give out.
I should add that I'm going for an all handmade Christmas (with the exception of 1 toy each for the girls, we got them Boogie Boards.) But that's a post for later.


post signature